
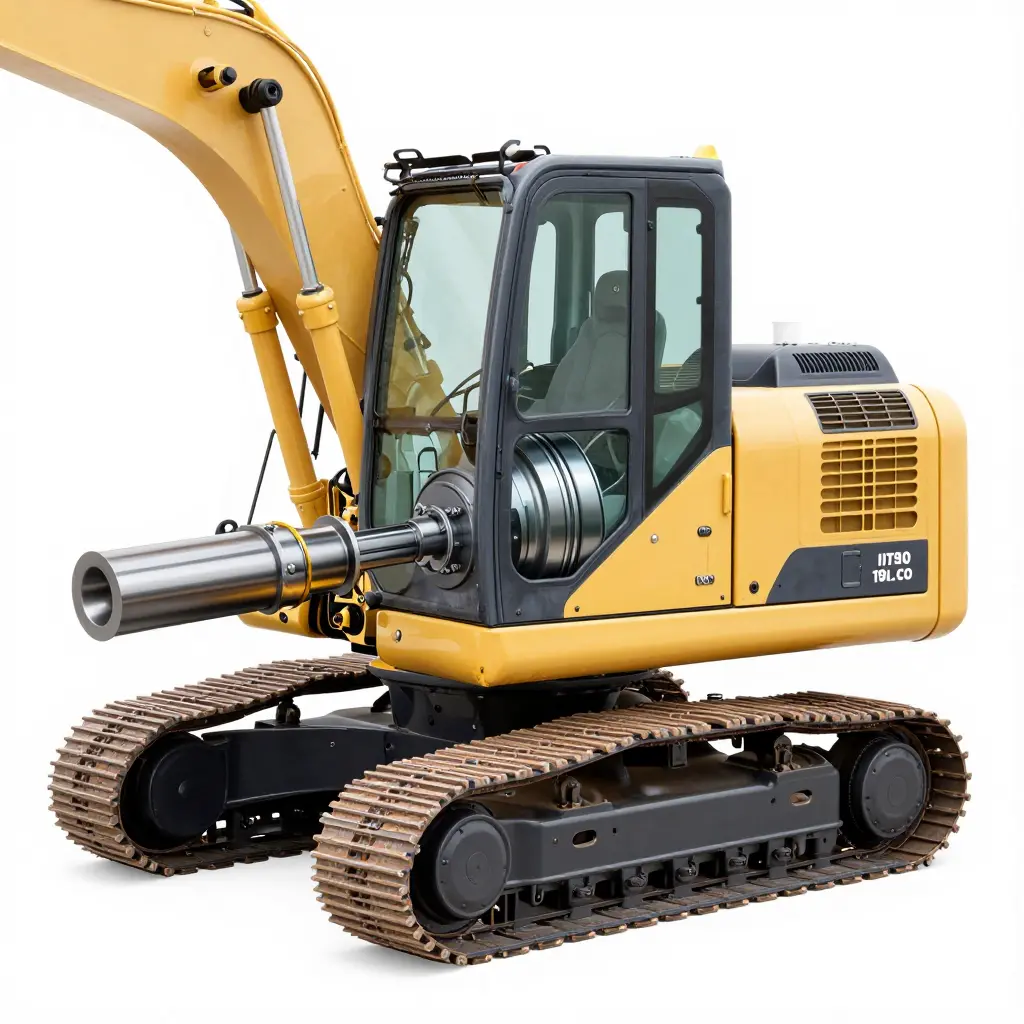
Mini Excavator Travel Motor Leaks: What You Are Actually Looking At
A travel motor is the final drive on a mini excavator. It turns hydraulic pressure into the torque that drives the tracks, forward and in reverse. When it starts leaking, the machine stops tracking straight and someone has to crawl under it with a wrench.
Two problems account for most of these leaks:
- Case drain back pressure – the return line cannot carry internal leakage away fast enough, so pressure builds inside the motor housing and pushes oil past the seals.
- Worn shaft seals – wear, contamination, or heat breaks down the lip seal until it can no longer hold oil at the output shaft.
Both look the same from the outside: oil around the final drive, fluid dripping onto the undercarriage, hydraulic oil disappearing a little at a time. They need different repairs, though, so the job is to figure out which one you have before you pull anything apart. The pressure tests, inspections, and readings below separate a back-pressure fault from a failed seal.
Internal Anatomy of a Mini Excavator Travel Motor
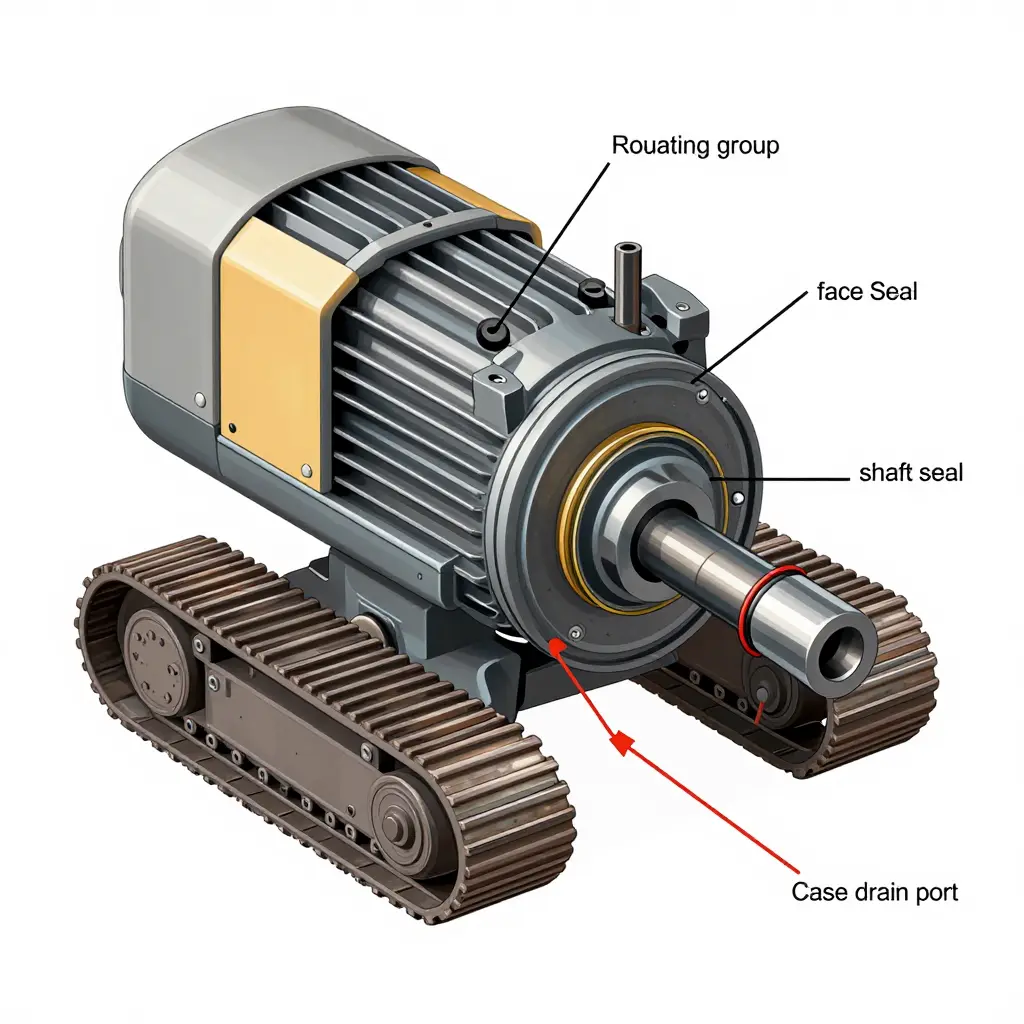
A mini excavator travel motor turns hydraulic pressure into rotary motion through a short stack of precision parts, and where the oil escapes depends on which part gives out. At the core sits the rotating group: pistons reciprocate inside a cylinder barrel, and their shoes ride on a swashplate that sets the displacement angle. Oil enters and leaves through the valve plate. The face seal keeps the high-pressure porting away from the lower-pressure case cavity. The output shaft passes through the housing, where the shaft seal holds oil in and dirt out, and the case drain port gives internal leakage a controlled route back to the reservoir.
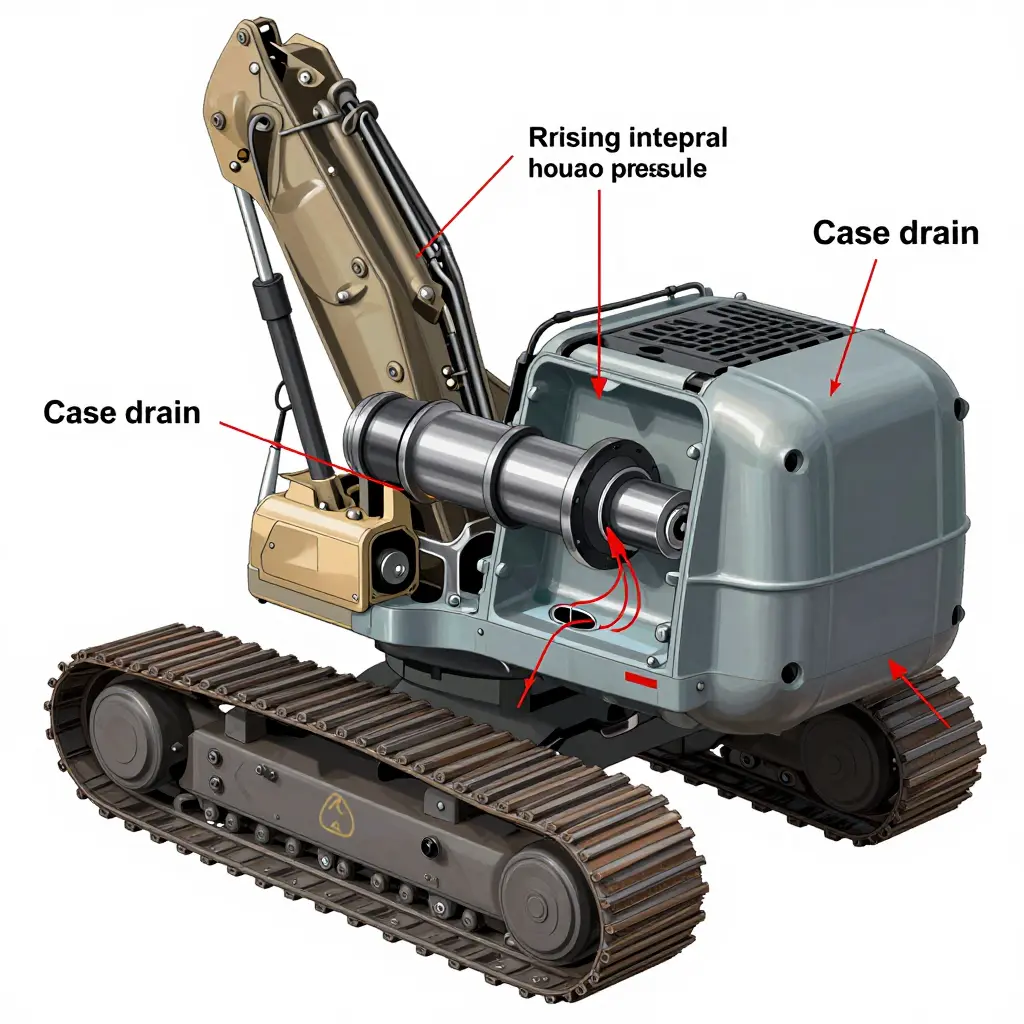
Fluid escapes along three interfaces. A small, deliberate volume slips past the piston-to-bore clearance into the barrel; that leakage is normal and built into the design. The face seal at the valve plate can erode or distort and let high-pressure oil cross straight into the case. The shaft seal can fail under too much pressure or abrasive contamination. Whatever bypasses the rotating group collects in the case cavity and leaves through the case drain port. Restrict that drain line and case pressure rises until it forces oil past the shaft seal. Sustained high case pressure is the usual reason a new seal fails and a minor internal leak turns into a visible external drip.
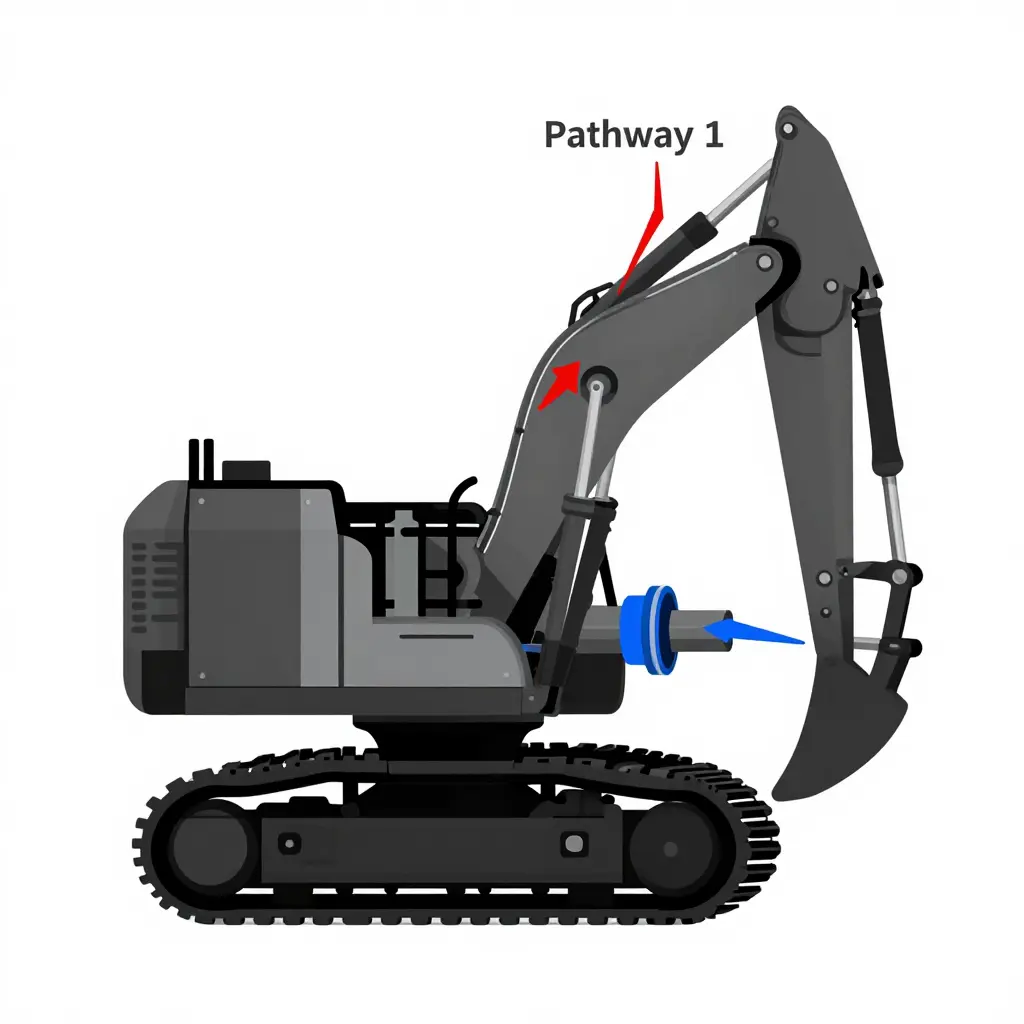
This cutaway separates the two leak routes that matter: internal leakage heading for the case drain (red) and fluid escaping past the shaft seal (blue). Knowing which path is active is the first step in telling back pressure apart from a worn seal.
How Case Drain Back Pressure Drives Travel Motor Leaks
Case drain back pressure is the resistance that internal leakage meets on its way from the motor housing back to the tank. Every piston and slipper motor passes some oil by design. That oil has to leave the housing freely through the case drain line, or housing pressure climbs above tank pressure.
Anything that restricts the line makes case pressure rise: a kink, a crushed or undersized hose, or a drain port teed into a pressurized return. A clogged fitting or a restriction downstream forces oil to stack up in the housing instead of draining away.
That trapped pressure sits directly on the shaft seal. A lip seal is built to handle a little splash, not a steady head of oil behind it. Push past its pressure limit and the lip lifts off the shaft; from then on, oil leaves with the motor. The seal may be perfectly good – the pressure is what is driving the leak.
That is what makes it hard to diagnose, and why you measure case drain flow and pressure under load before you blame the seal. Skip that step and the same machine comes back for a new seal two or three seasons running.
Symptom Intensity: Case Drain Back Pressure vs. Worn Shaft Seals
When a travel motor starts weeping, most technicians reach for the same guess. The two common causes behave differently, and the chart below scores how strongly each one shows up across five checks. Read it at the machine, before you commit to a rebuild.
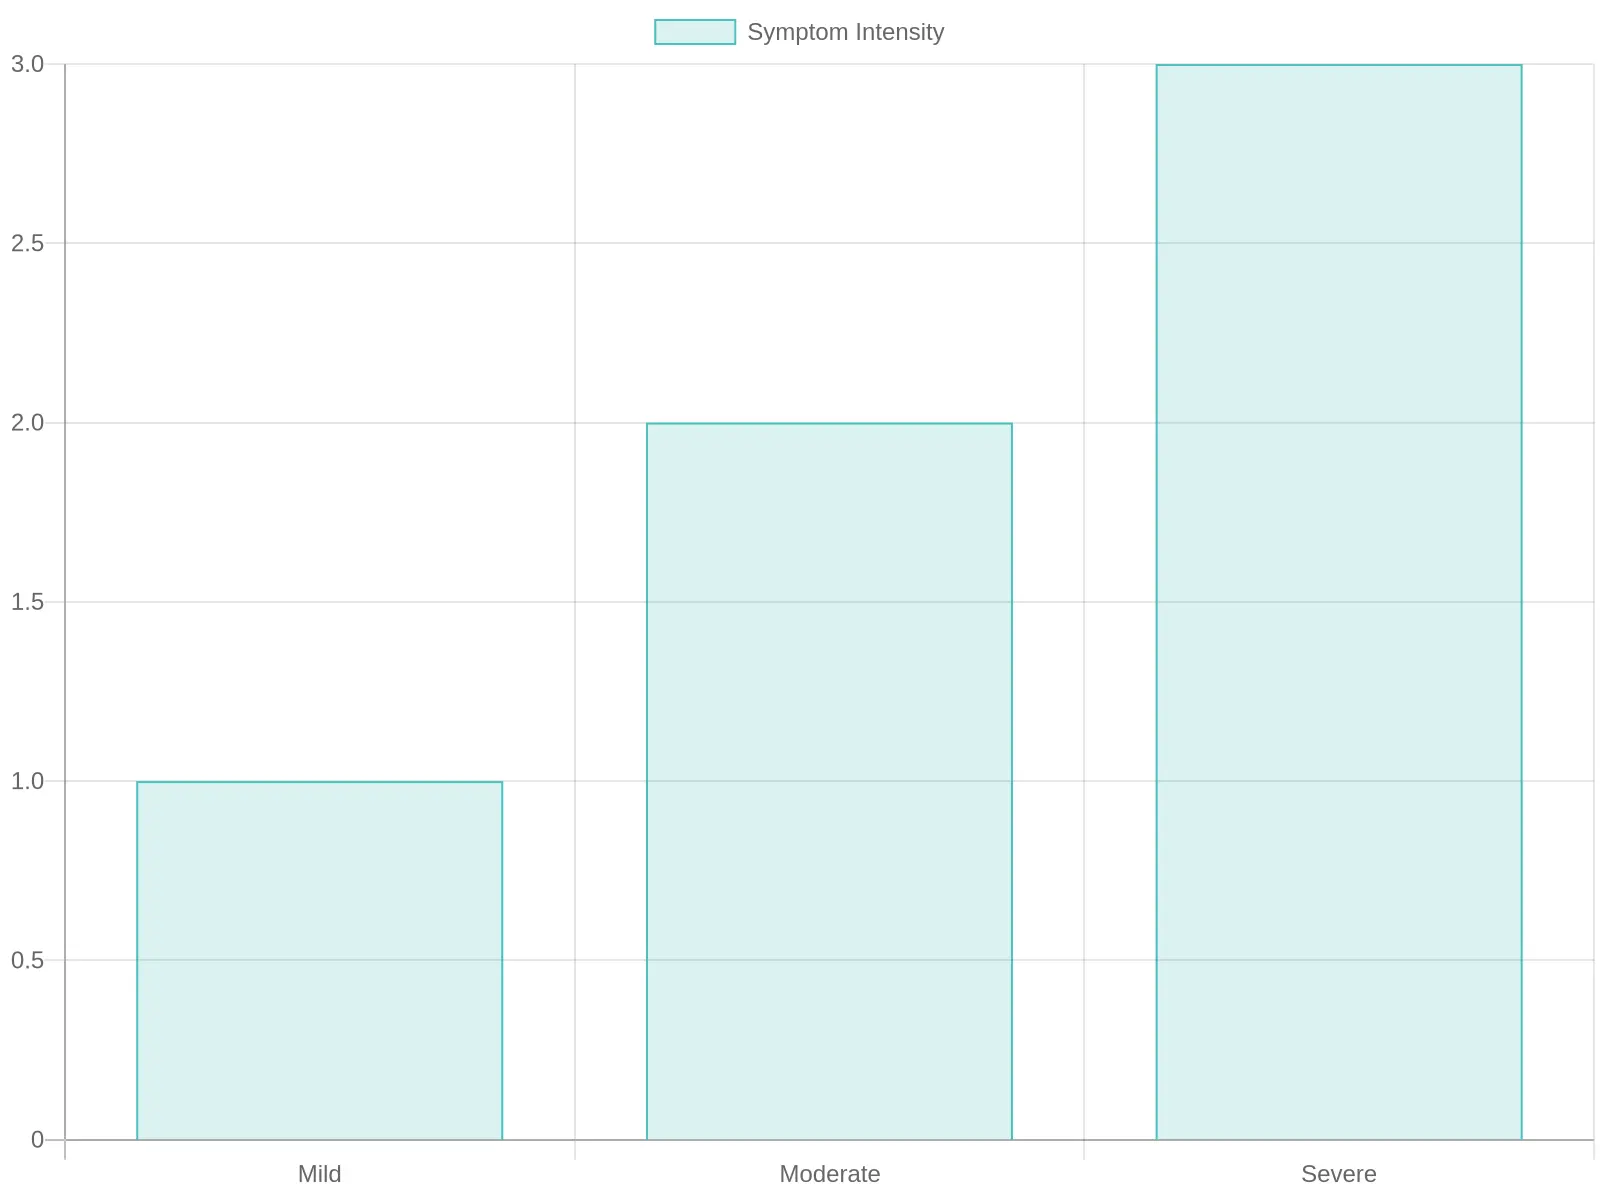
Bar chart comparing symptom intensity (0-10 scale) across five diagnostic categories: external leak location, leak at idle, temperature sensitivity, leak volume, and load dependence, for case drain back pressure and worn shaft seals.
Here is the raw data behind the bars:
| Diagnostic Category | Case Drain Back Pressure | Worn Shaft Seals |
|---|---|---|
| External Leak Location | 3 | 9 |
| Leak at Idle | 4 | 8 |
| Temperature Sensitivity | 7 | 3 |
| Leak Volume | 8 | 8 |
| Load Dependence | 9 | 4 |
How to Read the Bars
Look at the shape, not any single bar. Worn shaft seals score high on the left side of the chart, where the leak is easy to find and shows up at idle, then fall off once temperature matters. Back pressure is the mirror image: hard to spot when the machine is cold, loud and clear once it is hot and working.
That crossover is the quickest read. Oil that appears early, sits around the seal area, and stays about the same whether the motor is hot or cold points to the seal. Oil that only shows up after the machine warms up, or that rises and falls with load, points to the drain circuit – check it before you touch the seal.
Using the Pattern in the Bay
Treat the scores as rough guides, not specifications. Oil viscosity, ambient temperature, and how hard the machine is being pushed all move them around. What matters is which cluster leans which way.
A field check that pairs with the chart: warm the machine fully, then watch the leak at idle and again under load. If it jumps with load and heat, look at the drain circuit first. If it weeps steadily from one spot no matter the temperature, the seal is the better suspect.
Field Testing Methods to Separate the Two Causes
Four field tests narrow down a mini excavator travel motor leak. Each result points at either case drain back pressure or the shaft seal.
Measure case drain flow rate. Run the case drain hose into a graduated container and time how much oil it collects. Steady, elevated flow that climbs with load means internal bypass, which often comes with a failing seal.
Monitor case drain pressure with a gauge. Tee a pressure gauge into the drain line and read it at idle and under load. Anything above the motor’s specification points to case drain back pressure from a restricted return.
Observe leak behavior, stationary versus moving. Does oil weep while the machine sits, or only once travel is engaged? A leak that grows only with oil flowing and pressurized points to back pressure pushing fluid past the seal. Constant weeping at rest leans toward worn shaft seals.
Inspect the drain line for restrictions. Check the hose for kinks, crushing, undersizing, and a clogged filter. A clear line makes back pressure unlikely and leaves the seal as the cause. A restricted line that stops leaking once you clear it confirms back pressure was the culprit.
Run all four. Together they give you an answer before you pull the motor.
Step-by-Step Diagnostic Procedure
A recurring travel motor leak usually gets blamed on the shaft seal, but back pressure can look exactly the same. Work through this order to find the real cause before you commit to a repair.
- Shut down safely and relieve pressure. Park on level ground, lower the implements, stop the engine, and bleed residual hydraulic pressure at the tank before you open any fitting.
- Clean and mark the motor housing. Wipe the travel motor, hose ends, and belly pan dry, then chalk a line around the suspected seal area so fresh seepage stands out from old residue.
- Run the machine and note leak conditions. Travel for a few minutes under normal load, then stop and check whether the leak shows at idle or only during high-speed, high-load travel.
- Measure case drain pressure. Fit a calibrated gauge on the case drain port and read it at operating temperature. Above the manufacturer’s limit (often around 15-30 psi) points hard at back pressure.
- Inspect the case drain line and filter. Trace the hose for kinks, collapsed sections, and a clogged drain filter. A restricted return path is a common source of excess case pressure.
- Check the motor’s internal leakage. With the gauge still connected, stall the travel circuit briefly and watch for a sudden pressure spike. A spike means worn internal parts are pushing extra oil into the case.
- Isolate the shaft seal. Disconnect the case drain line, cap the port, and pressurize the case lightly. If oil weeps from the seal with the hydraulics off, the seal itself is compromised.
- Compare both travel motors. Run the same test on the opposite side. A wide difference in case drain pressure between the two tells you whether the fault is systemic or confined to one unit.
- Choose the repair. If case drain pressure was high and falls after you clear the line or filter, fix the return path only. If the seal leaked during the isolated test, replace it and check the bearing and shaft for scoring.
Worked in this order, a hydraulic travel motor diagnosis keeps you from replacing a good seal and chasing the same leak again next season.
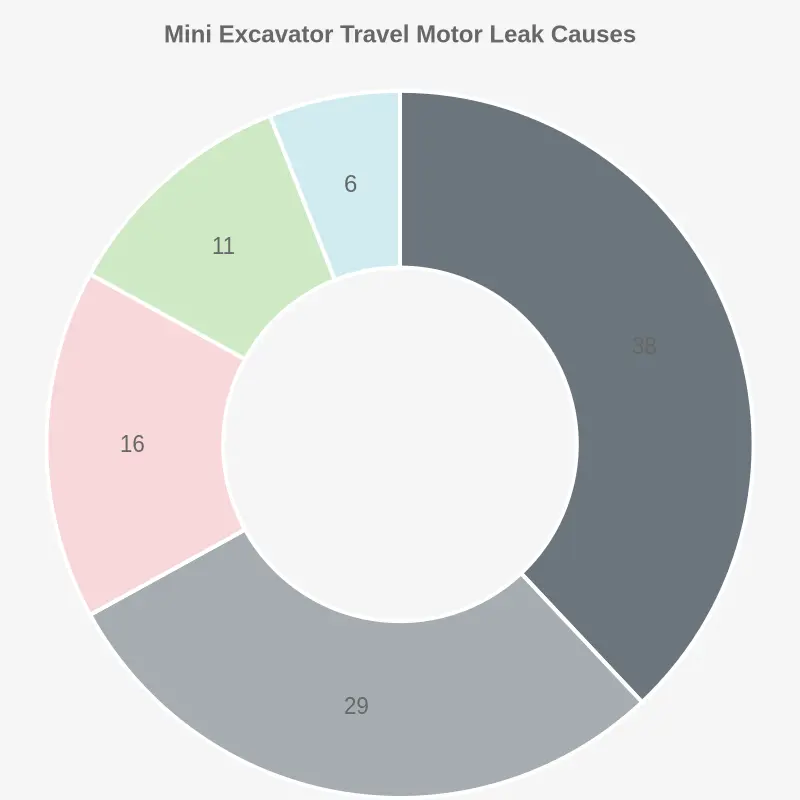
Typical distribution of mini excavator travel motor leak causes, by percentage.
Interpreting Combined Test Results
Pair a case drain flow test with a pressure reading and the results tell you where to spend money. Check four things together before ordering parts: timing, volume, temperature response, and the drain line itself.
When a leak shows up matters first. Oil that appears only after the machine runs hot, then fades as it cools, usually means back pressure building in a restricted or undersized return line. Oil that leaks the moment the motor turns, hot or cold, points to a shaft seal that no longer holds at rest.
How much oil tells you more. A slow weep that grows with engine speed suggests back pressure pushing past an otherwise healthy seal. A steady, high-volume stream at idle means the seal lip itself has failed.
Temperature settles it. If drain flow climbs sharply as the oil thins, suspect a restriction. If flow stays consistent regardless of temperature, suspect mechanical seal wear instead.
Look at the drain line last, and look at it hard. Kinks, crushed hoses, and a clogged return filter all raise back pressure and imitate seal failure. Fixing a restricted drain line is the cheapest outcome here – often a few hours of labor and no new parts.
Once worn shaft seals are confirmed, the seal has to come out. That job costs more in parts and downtime, because the unit comes off the machine and gets resealed on a bench. Get the call right: treating back pressure as a seal failure wastes money, and treating a failed seal as a pressure problem just delays the breakdown.
Mini Excavator Travel Motor Leak Diagnosis: The Decision Flow
Before you order a seal kit or pull the travel motor, run the decision in order. It branches like this:
- Start – Confirm a leak is present at the travel motor.
- Check case drain pressure – This is the first fork. High case drain pressure points away from the seal.
- Check drain line restrictions – If pressure is elevated, trace the return path for kinks, crushed lines, or clogged fittings.
- Branch to the fix:
- Elevated back pressure from a restricted drain line means you address case drain back pressure first.
- Normal case drain pressure with oil still escaping toward the outside means you inspect the shaft seal.
The order keeps you honest. Most “seal failures” turn out to be a symptom of an over-pressurized case drain, so rule out back pressure before you replace hardware.
Keeping Travel Motor Leaks From Coming Back
Stop the cause, not just the drip. Correct drain line sizing and routing keep case drain back pressure inside the manufacturer’s limit, usually only a few psi, so return oil flows freely to the tank instead of being forced past the seals. Undersized, kinked, or partly blocked drain lines are among the most common and most avoidable causes of repeat leakage, so check hose diameter, bend radius, and the tank connection whenever a motor is serviced.
- Keep the oil clean. Service the return and pilot filters on schedule and check ISO cleanliness codes; abrasive particles steadily wear seals from the inside.
- Watch operating temperature. Keep hydraulic oil within specification, because sustained overheating hardens rubber and starts leaks early.
- Know the symptoms. Worn shaft seals usually drip steadily along the output shaft, while back-pressure seepage tends to follow heat and load.
- Inspect seals before they fail and plan travel motor seal replacement at the first sign of weeping, before contamination reaches the bearings and drive components.
Fluid checks, clean oil, and scheduled inspections turn a recurring repair into routine maintenance.
Frequently Asked Questions
Can case drain back pressure damage shaft seals?
Yes. As case pressure climbs, it can exceed what the seal lip is rated to hold. Oil gets pushed past the seal, and if the pressure stays high the seal can be forced out or torn. It develops gradually, as return lines, filters, or coolers begin to clog, which is why it is easy to miss. Back pressure kept within the manufacturer’s limit is what actually protects the seal.
How do I know if a leak is from back pressure or a worn seal?
Measure case drain flow and pressure with the oil at operating temperature, then compare both readings to the service specification. A worn shaft seal usually leaks steadily no matter the load. A back-pressure-driven leak gets worse as RPM, load, or oil temperature rise. If pressure only spikes under certain conditions, suspect the drain circuit rather than the seal itself.
What drain flow rate indicates a problem?
As a rough field rule, case drain flow should stay under about 1 to 2 percent of the motor’s rated flow when it is hot and unloaded. If measured flow climbs well above the manufacturer’s figure, internal leakage is high, whether it comes from worn shaft seals, piston and valve wear, or excessive case drain back pressure. Any reading far above spec means the unit needs service.
Is seal replacement always necessary?
No. If elevated case drain back pressure is causing the leak, swapping the seal without fixing the return line usually just leads to another failure. Confirm the drain circuit is clear and within pressure limits before installing a new seal. When seals are genuinely worn, replacement restores the motor, but the root cause still has to be corrected.
How often should the case drain be inspected?
Inspect the case drain hose and fittings at every scheduled service interval, typically every 250 to 500 hours, and after any overheating or impact event. Check flow and pressure whenever you notice a travel motor leak or unexplained oil loss. Recording a baseline flow lets you spot trends before a seal fails completely.
What makes back pressure rise in the first place?
The usual culprits are a kinked or undersized drain hose, a clogged return filter, a restricted cooler, or a return line shared with too many other circuits. Any one of these can push case drain back pressure past the seal’s tolerance. Diagnosing the drain path first often saves the cost of a seal you did not actually need to replace.
Concluding Summary: Two Causes, Two Repair Paths
What separates the two is where the oil gets out and why. Case drain back pressure is a system-level fault: too much resistance in the drain line pushes oil past internal seals, so the leak appears around the motor body and grows with heat, kinks, clogged filters, or undersized return plumbing. Worn shaft seals are a component-level failure: oil weeps at the output shaft itself, often with dirt ingress, shaft grooving, or a damaged seal lip.
The sequence is the same in both cases: measure case drain pressure under load before assuming a seal has failed, then inspect the shaft and seal area to confirm mechanical wear. The repairs point in opposite directions. For case drain back pressure, relieve the restriction by clearing or upsizing the drain line and replacing the return filter. For worn shaft seals, replace the seal and check the shaft for scoring.
Make that call correctly and the travel motors stay dry, the repeat failures stop, and the machine keeps working.